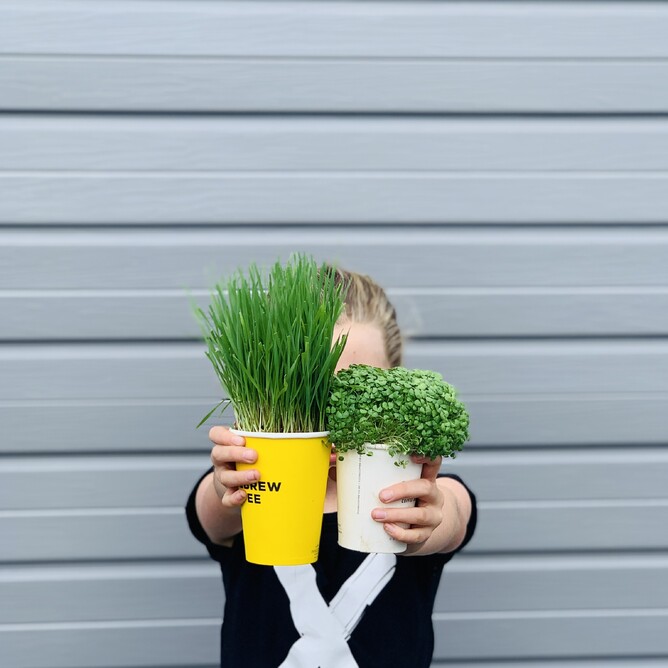
Tiny but mighty
Small but perfectly formed...
Not only are these guys super cute and easy to grow, but they are punching way above
their weight when it comes to nutrition.
And the best news is that they feel right at home on your kitchen windowsill and you can grow them all year round.
Turns out you can throw microgreens onto almost any meal and it makes it look wayyyyyy fancier.
Get growing...
Get ya seeds:
You can get microgreen seeds pretty much anywhere good seeds are sold... but I got mine from Kings Seeds.
There is an eye-watering range available - and lots of places offer a mixed pack to get you started.
I've experimented with a few and really like radish, chia, and wheatgrass (for smoothies).
Soil up:
Some sort of organic seed raising mix is probably going to give you the best results, but I'm all for simplicity to get you started...so if you have some reasonable soil in your garden give that a whirl, even better if you can throw in a bit of compost.
Plant:
Follow the instructions on the packet - but here's what works for me:
- use any small clean container you have (I've been rescuing disposable coffee cups, washing and poking holes in the bottom). Tetrapacks or yoghurt containers are also great
- sprinkle seeds on top - I use a good teaspoon per coffee cup (I don't cover with soil)
- spray to moisten
- cover (I use a large jar lid)
- spray a couple of times a day to keep moist
- remove the lid and 'llleeet the sunshine in' when they start to sprout
- keep spraying so they don't dry out
Harvest:
- you can start using them whenever you think they're ready, but ideally when the first true set of leaves appear (which is the second set of leaves that will grow)
- trim about a cm above the soil line, rinse and make your meals look fancy as (some variants will continue to grow back a few times if you just use a small amount at a time)
- when they're spent, I throw the soil and leftover plants in the garden and some continue to grow in there (bonus)
Share:
Plant a few extras and share the love


